Works out of the box with Blender 4.2 LTS+
Installation
Download from Gumroad
Install add-on
Click
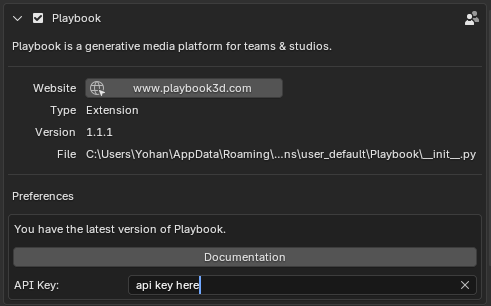
Edit, then PreferencesClick Install, then upload the .zip file, and enable the checkboxCopy & Paste your API key
Usage
Click N to bring up the plugin.
In the viewport, click N and select Playbook from the right side tab.
Clone the Blender template workflow.
Head over to beta.playbook3d.com and clone the template SDXL workflow for Blender.
Select your team and workflow.
Select your desired Playbook team and the workflow you’d like to run with Blender.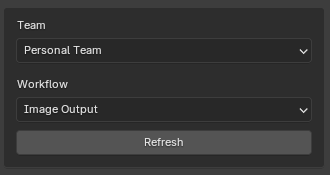
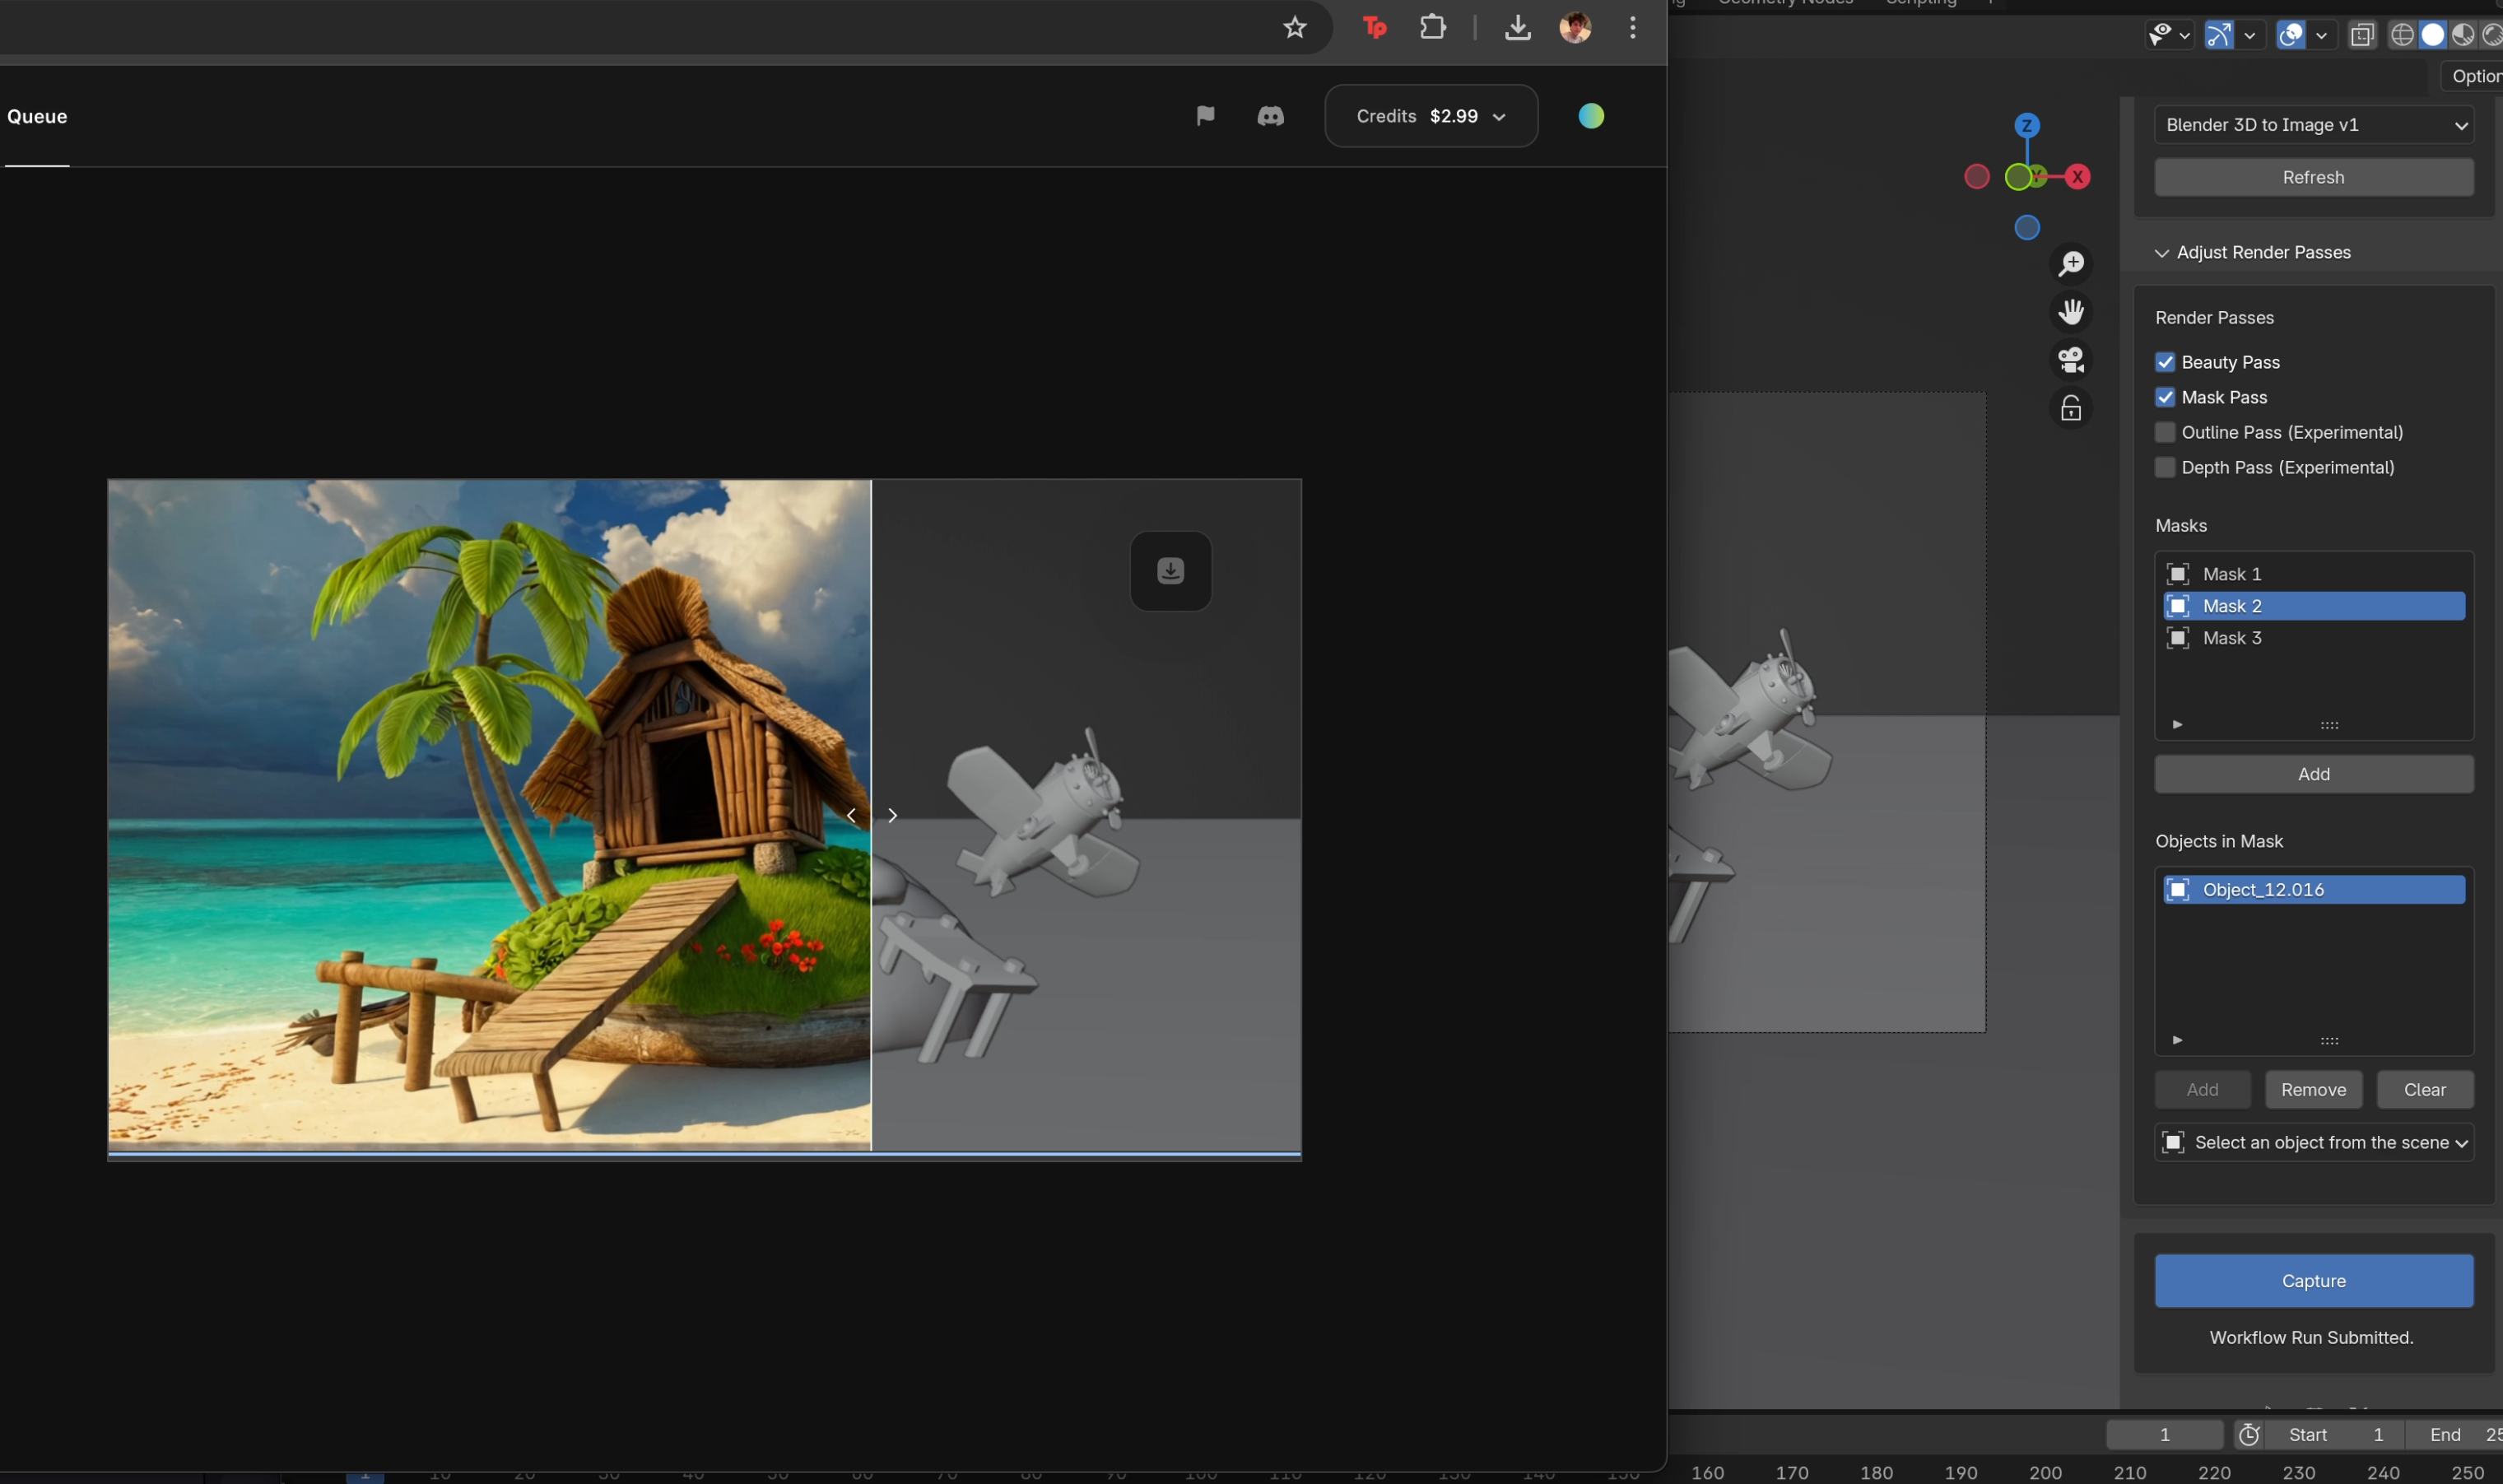
Configure render settings.
Enable your desired render passes. The add-on supports a total of 4 masks - 3 assigned, the 4th being a catch all. Note that Depth and Outline passes are experimental and will work better in uncontained, outdoor scenes.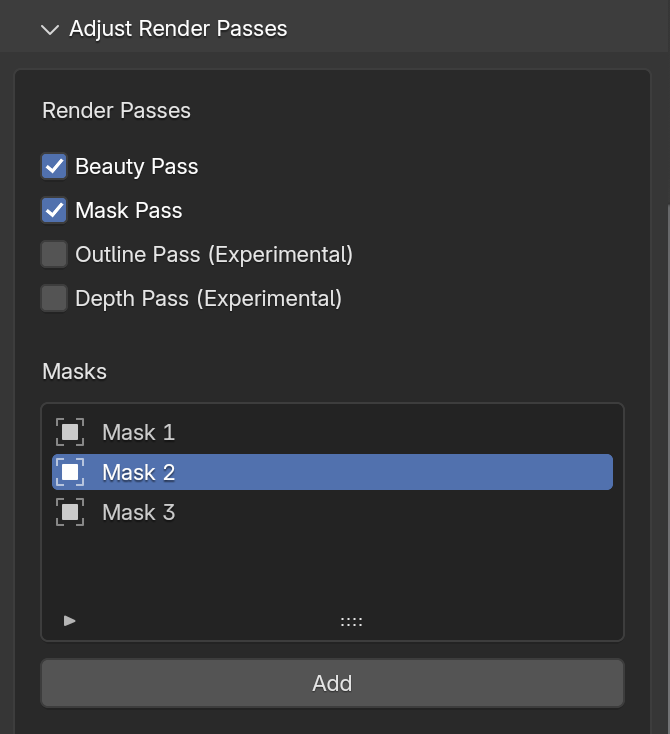
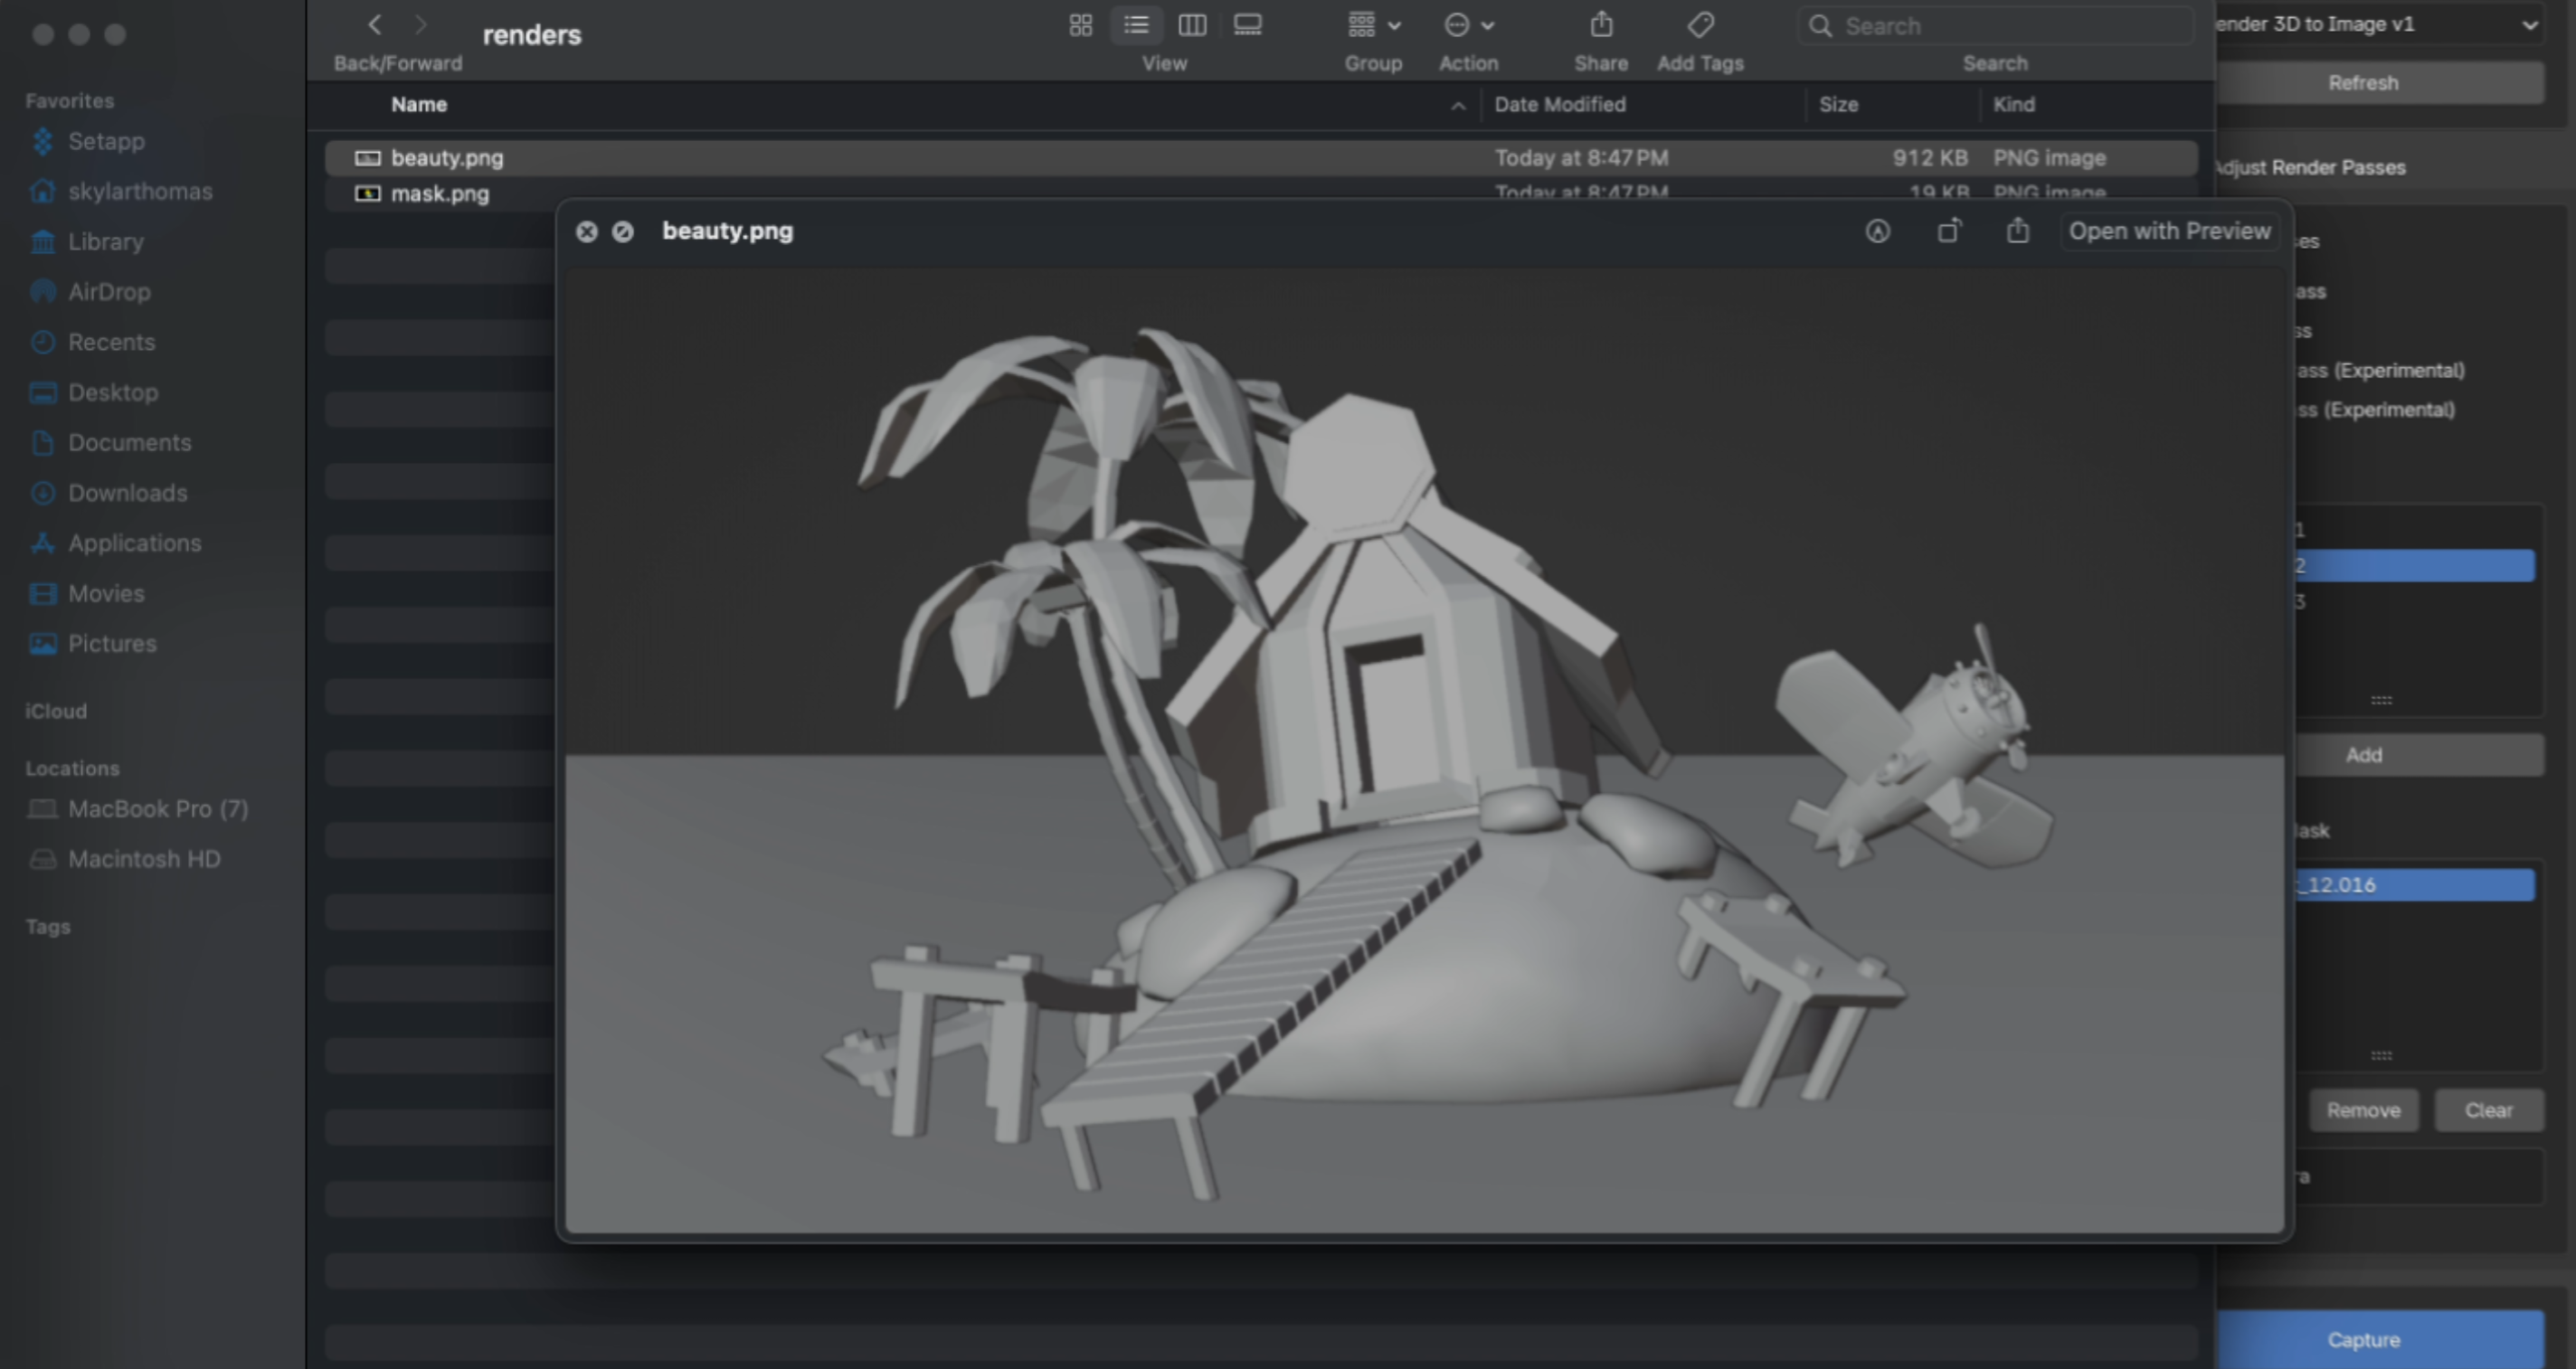
Run workflow in the cloud.
Enter your desired prompts per each mask in the Playbook editor. Click “Capture” from Blender to initiate a workflow run using the streamed render passes. Note that no generations will occur if the editor is not up.